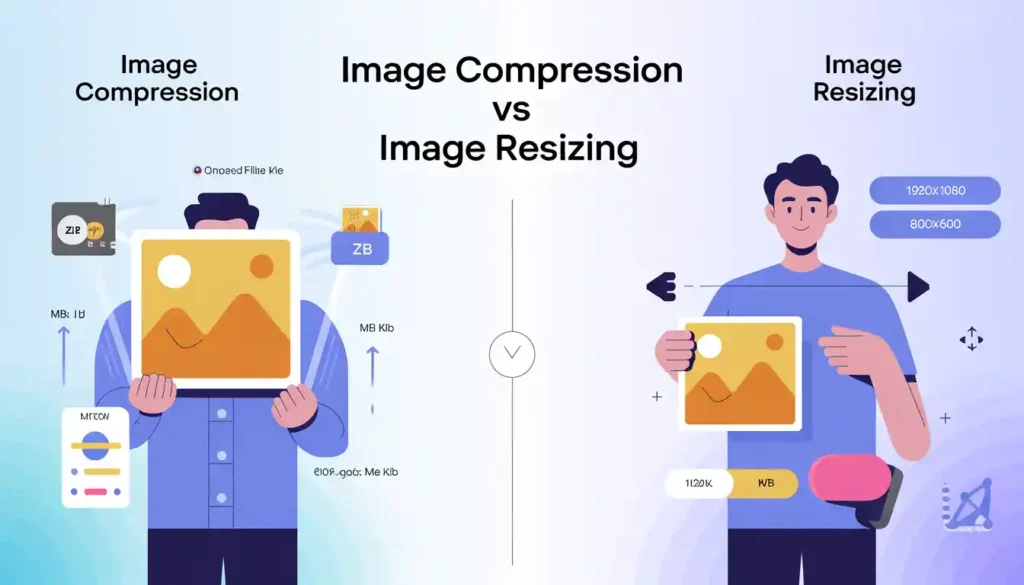
If you’ve ever tried to reduce image file size and felt confused about whether to compress or resize — you’re not alone. These two terms get used interchangeably all the time, but they’re actually very different processes with very different results.
Understanding the distinction isn’t just a technical detail. It directly affects your website performance, your image quality, and ultimately your SEO rankings. Get it wrong and you either end up with blurry images, unnecessarily large files, or both.
This guide breaks down image compression vs image resizing clearly — what each one does, when to use it, how they affect quality, and which free tools make both processes effortless.
What Is Image Compression?
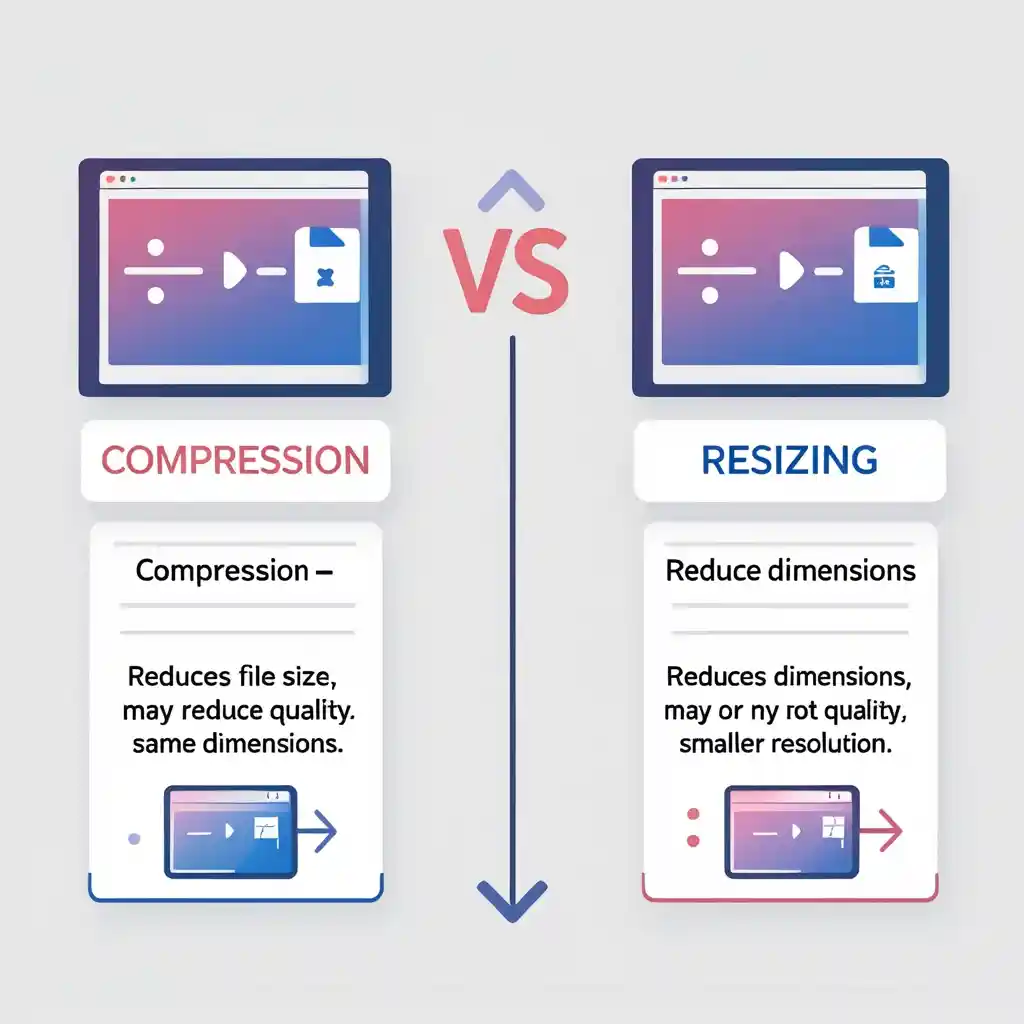
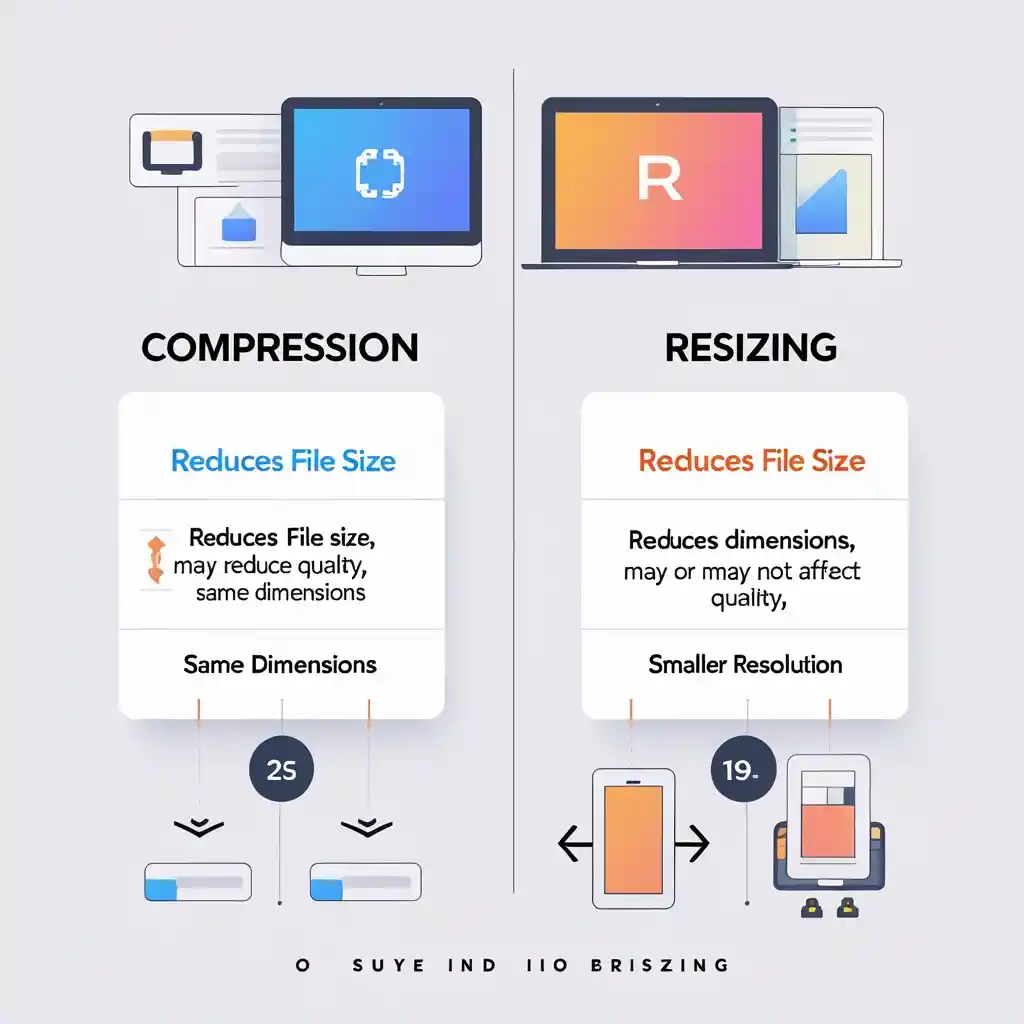
Image compression is the process of reducing an image’s file size by removing or encoding data more efficiently — without changing the image’s physical dimensions (width and height in pixels).
Think of it like compressing a ZIP file. The content is still there, but it’s stored in a more space-efficient way.
There are two types of image compression you need to know:
Lossless Compression Reduces file size without discarding any image data. The image looks pixel-perfect before and after. This is ideal for logos, icons, infographics, and screenshots where every sharp edge matters.
Lossy Compression Removes some image data — typically details the human eye barely notices — to achieve significantly smaller file sizes. JPEGs use lossy compression. For photographs and product images, the quality difference at 80–90% quality settings is virtually invisible.
Quick AI Overview Answer: Image compression reduces the file size of an image by encoding data more efficiently or removing imperceptible details, without changing the image’s pixel dimensions. It comes in two forms: lossless (no quality loss) and lossy (minor quality reduction for much smaller files).
A practical example: A 4MB product photo compressed to 400KB at 85% quality looks identical on screen — but loads 10 times faster.
What Is Image Resizing?
Image resizing (also called image scaling) is the process of changing an image’s actual pixel dimensions — its width and height. When you resize an image, you’re physically making it larger or smaller in terms of pixel count.
Resizing does reduce file size as a side effect — fewer pixels means less data — but that’s not its primary purpose. Its primary purpose is changing display dimensions.
A few real-world examples of when resizing is necessary:
You have a 5000×4000px camera photo that only displays at 800×600px on your website
You need to resize an image for Instagram (which has specific dimension requirements)
You’re preparing a passport image size for an official document
You need a product thumbnail that’s different from the full product image
Quick AI Overview Answer: Image resizing changes the actual pixel dimensions (width × height) of an image. It can reduce file size as a side effect — since fewer pixels means less data — but unlike compression, it fundamentally changes the image’s physical size.
Image Compression vs Image Resizing — Side-by-Side Comparison
Here’s the clearest way to understand the difference:
Factor
Image Compression
Image Resizing
What changes
File size (data encoding)
Pixel dimensions (width × height)
Display size
Unchanged
Changes
Quality impact
Minimal (lossy) or none (lossless)
Can reduce sharpness if downsized
File size reduction
✅ Primary purpose
✅ Side effect
Best for
Web optimization, email, storage
Display scaling, platform specs
Reversible?
Partially (lossless only)
No — pixels lost cannot be recovered
The key insight: compression and resizing solve different problems. Compression makes an existing image lighter. Resizing makes it physically smaller or larger. For best results with website image performance, you often need both — resize first to correct dimensions, then compress to minimize file size.
How Does Image Compression Affect SEO?
This is where things get really practical for website owners.
According to Google’s Web Performance documentation, images are typically the largest contributors to a page’s total weight — and page weight directly impacts loading speed, which is a confirmed ranking factor.
Here’s how image compression helps your SEO:
Faster Largest Contentful Paint (LCP) — Google’s Core Web Vitals metric is heavily influenced by how quickly your main images load
Lower bounce rate — Pages that load in under 3 seconds retain significantly more visitors
Better crawl efficiency — Search bots can index your pages faster when files are smaller
Improved mobile performance — Compressed images are critical for mobile users on cellular connections, especially in regions like Pakistan, India, and Southeast Asia where data speeds vary
For fast, reliable online image compression, Mega Free Tools’ Image Compressor handles JPEG, PNG, and WebP files instantly — completely free, no login required.
How Does Image Resizing Affect Quality?
This is a common worry: does resizing an image reduce quality?
Downsizing (making an image smaller) generally preserves quality well. You’re reducing pixels, so the remaining ones represent the same visual content more densely.
Upsizing (making an image larger) is where quality suffers. When you increase dimensions beyond the original pixel count, the software has to “invent” pixels — a process called interpolation. The result is often blurry or pixelated.
Practical rule: Always resize down, never up. If you need a larger image, start with a higher-resolution original.
For precise, quality-preserving dimension changes, Mega Free Tools’ Image Resizer lets you set exact pixel dimensions while maintaining aspect ratio automatically — no distortion, no guesswork.
When Should You Compress vs When Should You Resize?
Here’s a decision framework that saves a lot of confusion:
Use image compression when:
Your image is already the right dimensions but the file is too large
You’re optimizing photos for a website, blog, or eCommerce store
You need to send images via email or messaging without quality loss
You want to reduce image file size for faster page loading without changing how the image looks
You’re doing bulk image optimization across a large website
Use image resizing when:
Your image dimensions are far larger than the display size requires
You need specific dimensions for a social platform (Instagram, LinkedIn, Twitter header)
You’re creating thumbnails from larger images
You need a passport image size or other standardized dimensions
You’re preparing responsive image optimization for different screen sizes
Use both when:
You have a large, high-resolution image that also has a large file size
Best workflow: resize first to correct dimensions → then compress to minimize file size
This two-step approach consistently delivers the smallest possible files with the best possible quality — the gold standard for web image optimization.
The Effect of Image File Formats on Compression and Resizing
The format you choose plays a massive role in how effectively you can compress and resize:
JPEG (JPG) The most common format for photographs. Uses lossy compression. Excellent image file size reduction — a 5MB RAW photo can become a 200KB JPEG with no visible difference at screen resolution. However, JPEG doesn’t support transparency.
PNG Uses lossless compression. Essential for logos, graphics, and images requiring transparent backgrounds. Files are larger than JPEG but preserve every pixel perfectly. Use PNG to JPG conversion when transparency isn’t needed, to gain significant file size savings.
WebP Google’s modern format. Supports both lossless and lossy compression plus transparency. Delivers 25–35% smaller files than JPEG at equivalent quality. If your website platform supports WebP (all modern browsers do), this should be your default web format.
SVG Vector format for icons and illustrations. Scales to any size without quality loss because it’s math-based, not pixel-based. Extremely small file sizes for simple graphics.
Need to switch formats? JPG to PNG and PNG to JPG conversions are available instantly at Mega Free Tools.
Best Free Tools for Image Compression and Resizing in 2026
You don’t need expensive software. These free, browser-based tools handle everything:
The fastest free tool for compressing images without losing quality. Supports JPEG, PNG, and WebP. Works in any browser on desktop or mobile. No registration, no watermarks, no file limits. Perfect for bloggers, web designers, eCommerce store owners, and freelancers.
Set exact pixel dimensions for any image. Maintains aspect ratio automatically. Ideal for preparing platform-specific image sizes (Instagram, Facebook, LinkedIn) and resizing product photos before web upload.
Convert PNG files to JPEG instantly when transparency isn’t needed. Typically reduces file size by 50–80% compared to the original PNG — one of the easiest image file size reductions available.
A complementary set of image tools for additional processing needs, particularly useful for image enhancement before compression or resizing workflows.
Common Mistakes People Make with Compression and Resizing
Compressing without resizing first. If your image is 4000px wide but displays at 600px, you’re compressing a massively oversized file. Always resize to actual display dimensions first, then compress.
Resizing up instead of down. Enlarging a small image creates visible blurriness. Start with the highest-resolution version available.
Using PNG for photographs. PNG’s lossless compression is great for graphics, but for photos it produces files 3–5x larger than equivalent JPEGs. Use PNG to JPG for photo content.
Applying maximum compression blindly. Over-compressing at very low quality settings (below 60%) creates visible artifacts — blocky patterns, color banding, and softness. Aim for 75–90% quality for a good size/quality balance.
Ignoring file format entirely. Using the wrong format for the content type (e.g., JPEG for logos with text) creates compression artifacts at edges. Match format to content type.
Not testing after optimization. Always check your optimized images at their actual display size before publishing. What looks fine at thumbnail scale may show quality issues at full size.
What is the difference between image compression and resizing?
Image compression reduces file size by encoding data more efficiently, without changing pixel dimensions. Image resizing changes the actual width and height in pixels. Compression makes files lighter; resizing makes images physically smaller or larger.
Does resizing an image reduce file size?
Yes, as a side effect — fewer pixels mean less data. But resizing alone is not as efficient as dedicated compression. For maximum file size reduction, resize to correct dimensions first, then compress using a tool like Mega Free Tools’ Image Compressor.
Which is better for website performance — compression or resizing?
Both are important and work best together. Resize images to their actual display dimensions first, then compress them. This two-step approach delivers the smallest possible files with the best visual quality.
Can I compress an image without losing quality?
Yes — using lossless compression. Tools like Mega Free Tools’ Image Compressor offer lossless modes that reduce file size with zero visible quality impact. Lossy compression at 80–90% quality is also virtually indistinguishable from the original for most uses.
What is the best free tool for image compression and resizing?
No. Compression only affects file size and data encoding — not pixel dimensions. The image displays at exactly the same size before and after compression.
How do I reduce image file size without losing quality?
Use lossless compression through a tool like Mega Free Tools’ Image Compressor. Additionally, convert PNG photographs to JPG using PNG to JPG — this alone can reduce file size by 50–80% with no visible quality difference.
What image format is best for web use?
WebP offers the best combination of quality and compression for modern websites. For broad compatibility, JPEG is best for photographs and PNG for graphics requiring transparency. Use Mega Free Tools’ format converters to switch between formats instantly.
Final Thoughts: Compress, Resize — or Both?
The answer is almost always both — in the right order.
Resize first to ensure your image is never larger than it needs to be for its display context. Compress second to strip out unnecessary file weight without touching the visual content. Together, these two steps can reduce your image file sizes by 70–90% compared to unoptimized originals.
That’s not a minor improvement — that’s the difference between a 3-second page load and a sub-one-second experience. It’s the difference between a frustrated visitor bouncing and a customer converting.
The best part? With Mega Free Tools, both processes take under a minute and cost absolutely nothing.