What Is Image Compression?
Image compression is the process of reducing an image’s file size while preserving as much visual quality as possible. At its core, compression works by removing or reorganizing redundant data within the image file — either permanently (lossy) or in a reversible way (lossless).
Lossy compression removes some image data to achieve smaller file sizes. JPEG is the most common lossy format. When done correctly, the human eye cannot detect the difference between the original and the compressed version.
Lossless compression reduces file size without discarding any data. Formats like PNG and WebP support lossless compression, meaning the image can be perfectly reconstructed from the compressed file.
According to Google’s Web Fundamentals, images typically account for more than 60% of a webpage’s total bytes. Compressing them is one of the highest-impact optimizations you can make.
Who uses image compression?
- Bloggers and content creators who publish images regularly
- Web developers optimizing site performance and Core Web Vitals
- Students submitting assignments with strict file size requirements
- Businesses uploading product images to e-commerce platforms
- Digital marketers running ads with platform-specific size limits
Why Image Compression Matters More Than Ever
Page speed is a confirmed Google ranking factor. A slow website doesn’t just frustrate visitors — it actively hurts your search visibility. Large, unoptimized images are almost always the primary culprit.
Here’s the real-world impact of image compression:
- A 3MB JPEG can often be compressed to under 300KB with no visible quality loss
- Faster load times reduce bounce rates and improve user experience
- Compressed images use less bandwidth, which lowers hosting costs
- Search engines crawl optimized pages more efficiently, supporting better SEO
If you’re running a WordPress site, using a PDF compressor isn’t enough — every asset type, including images, needs to be optimized. Similarly, if you convert files frequently, pairing image compression with tools like the JPG to PDF converter or PNG to PDF tool at MegaFreeTools can dramatically reduce overall document sizes before sharing.
Key Features of a Good Online Image Compressor
Not all image compression tools are created equal. When evaluating an online tool, look for these essential features:
- Support for multiple formats — JPG, PNG, WebP, GIF, TIFF, BMP
- Lossless and lossy modes — flexibility to choose based on your use case
- Bulk compression — compress multiple images at once to save time
- No software installation required — works directly in the browser
- Mobile-friendly — accessible from phones and tablets
- Secure processing — your files should not be stored or shared
- Custom target file size — compress to 20KB, 50KB, 100KB, 200KB, 500KB, or 1MB as needed
- Free to use — no hidden paywalls or credit requirements
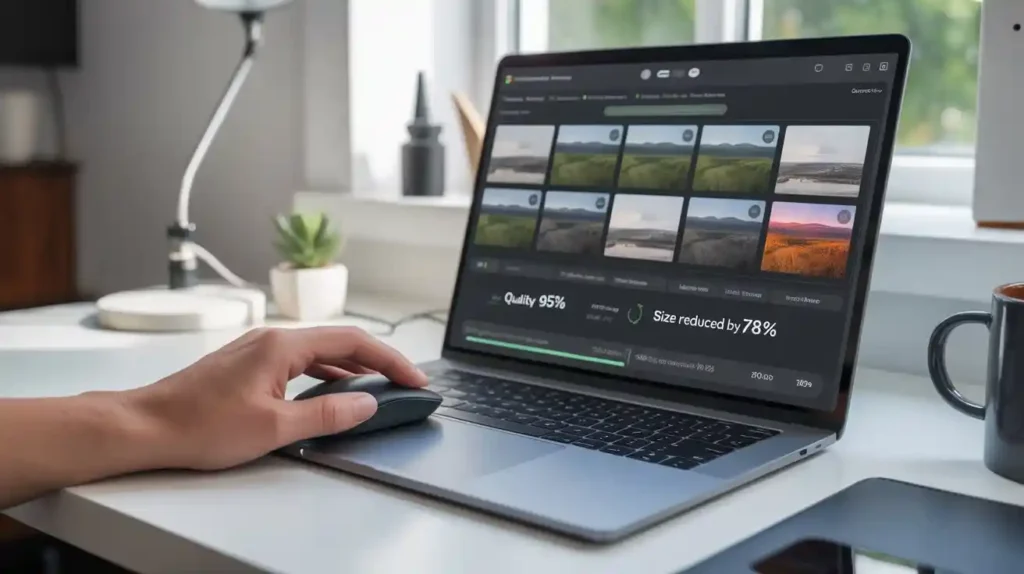
The Image Compressor tool at MegaFreeTools checks every one of these boxes. It’s completely free, runs in your browser, and delivers professional-grade compression results in seconds.
How to Compress Images Without Losing Quality Online — Step-by-Step
Using an online image compressor is simple. Here’s the exact process:
Step 1: Open the tool Visit megafreetools.com/image-compressor in any browser on your desktop or mobile device.
Step 2: Upload your image Click the upload button or drag and drop your image file directly onto the page. The tool accepts JPG, PNG, WebP, and other common formats.
Step 3: Choose your compression settings Select your preferred compression level — light, medium, or high. If you need a specific output size (like 100KB for a government form or 25KB for a portal submission), set the target file size manually.
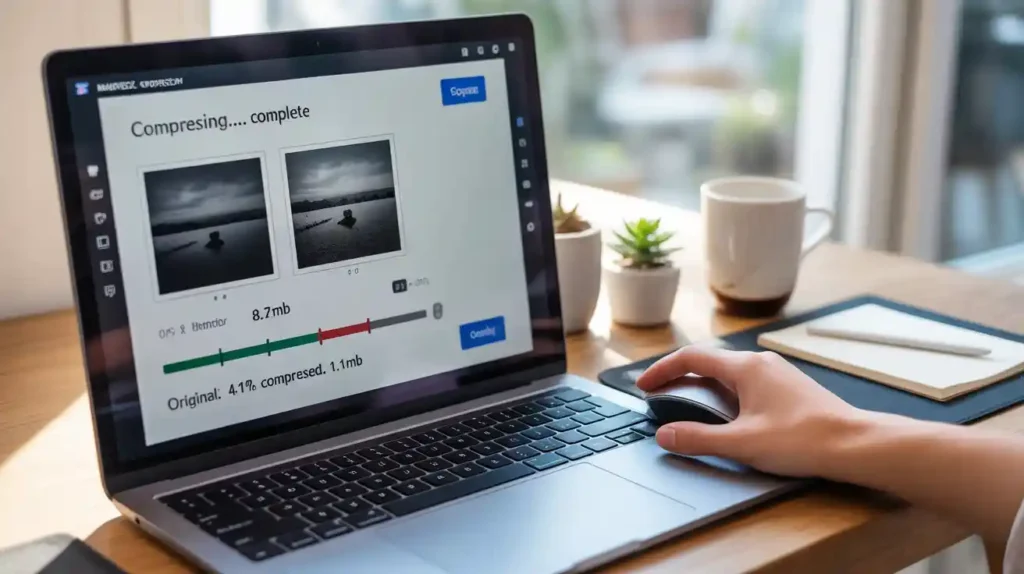
Step 4: Click Compress The tool processes your image instantly using intelligent compression algorithms that reduce file size while preserving clarity, sharpness, and color accuracy.
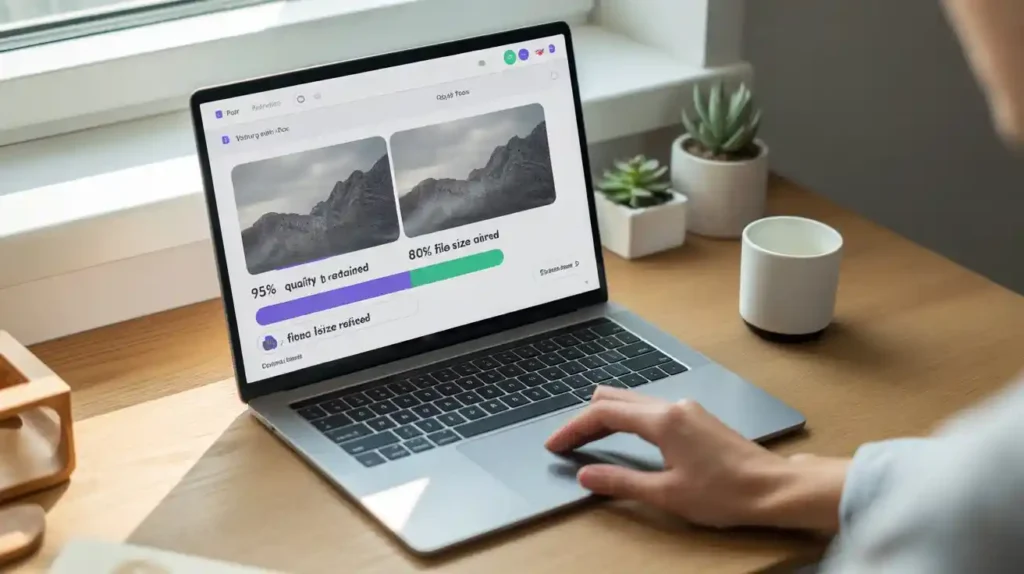
Step 5: Download your optimized image Preview the result, compare it to the original, and download the compressed version. You’ll typically see a reduction of 60–90% in file size with no perceptible quality difference.
For related tasks, you can also use the Image Resizer to adjust dimensions, or the JPG to PNG converter to change formats — both free tools on MegaFreeTools.
How to Reduce Image Size to Specific KB Targets
Many forms, portals, and platforms require images under a specific file size. Here’s how to hit common targets:
Reduce image to 20KB or 25KB These are common requirements for government job applications and academic admissions portals. Use high compression with a small target size setting. Start with a well-cropped photo rather than a full-resolution camera image.
Compress image to 50KB or 100KB Useful for profile photos, ID submissions, and email attachments. Medium compression on most JPG and PNG files will achieve this easily.
Reduce image to 200KB or 500KB Standard for website uploads, blog post images, and social media assets. This size range usually allows for excellent visual quality while keeping page loads fast.
Compress image to 1MB or 2MB Suitable for high-resolution portfolio work, print-ready files, or platform uploads where quality is prioritized over speed.
Always compress before uploading to any platform. Once a platform re-compresses your image (which most do automatically), you lose control over quality. Start optimized.
Key Benefits of Using an Online Image Compressor
Faster website performance Smaller images mean faster page loads. Google’s PageSpeed Insights directly rewards this with higher scores, which contributes to improved search rankings.
Improved user experience Visitors on mobile connections especially benefit from lightweight images. A page that loads in 1–2 seconds outperforms one that takes 5+ seconds in every measurable engagement metric.
Lower bandwidth and storage costs Compressed images take up less space on your hosting server and consume less data per page view — meaningful savings at scale.
Better SEO outcomes Image optimization is a core part of technical SEO. For a deeper understanding of how technical factors affect rankings, read the Technical SEO Explained guide on the MegaFreeTools blog.
Effortless sharing Compressed images are easier to attach to emails, upload to forms, and share via messaging apps — no more “file too large” errors.
Common Mistakes to Avoid When Compressing Images
Even with a great tool, it’s easy to make errors that undermine your results. Watch out for these:
Over-compressing images Pushing compression too hard results in visible artifacts — blocky patterns, color banding, and loss of fine detail. Always preview your compressed image before downloading.
Compressing already-compressed images repeatedly Each round of lossy compression degrades quality further. Start from the highest-quality source file you have, and compress once to your target size.
Ignoring image format JPEG is ideal for photos. PNG is better for graphics with transparency. WebP offers the best compression-to-quality ratio for web use. Choosing the wrong format can make compression less effective. Use the PNG to JPG converter or JPG to PNG tool to switch formats before compressing.
Not resizing before compressing If your image is 4000×3000 pixels but you only need it at 800×600, resize it first using the Image Resizer. Reducing dimensions eliminates far more file size than compression alone.
Skipping alt text after optimization Compressing images is only one part of image SEO. Always add descriptive alt text to ensure search engines understand your visuals.
Best Use Cases for Image Compression
Students Compress ID photos and scanned documents to meet strict KB limits for university applications and government portals. Many forms require images under 20KB or 25KB — easily achievable with the right tool.
Bloggers and content creators Every image in a blog post adds to load time. Compressing images to under 150KB each can reduce a page’s total weight by several megabytes, dramatically improving performance scores.
E-commerce businesses Product images must look sharp but load fast. Compressing product photos while maintaining clarity directly influences conversion rates and customer trust.
Web developers Bulk image compression is a standard part of any site optimization workflow. Developers can compress entire image folders before deployment to ensure consistent performance. Pair this with on-page SEO tools for a full optimization approach.
Digital marketers Ad platforms, landing pages, and social media all have image size requirements. Compressing creatives before upload ensures you stay within limits without sacrificing visual impact.
General users Sending photos by email or WhatsApp? Compressing them first means faster delivery, smaller inboxes, and no compression artifacts introduced by the platform itself.
Real-World Example: Compressing a Blog Hero Image
Imagine you’re a blogger who just photographed their workspace. The raw photo from your phone is 8.2MB — completely unsuitable for web use.
Here’s the optimization workflow:
- Open megafreetools.com/image-resizer and resize the image to 1200×800 pixels (standard blog width). File size drops to roughly 2.1MB.
- Open megafreetools.com/image-compressor and apply medium compression. File size drops to 180KB.
- Check visual quality — colors, text, and details are all crisp and clear.
- Upload to your CMS. Page load time improves noticeably.
That’s an 8.2MB file reduced to 180KB — a 97% reduction — with no visible quality loss. This is exactly the kind of optimization that improves Google PageSpeed scores from the 40s into the 90s.
For more image-related workflows, explore tools like the Background Remover and Watermark Remover at MegaFreeTools — both free and browser-based.
Image Compression and SEO: The Direct Connection
Optimizing images isn’t just about speed — it’s a core SEO activity. Here’s how image compression connects to search performance:
- Core Web Vitals: Google’s LCP (Largest Contentful Paint) is directly affected by image load times. Compressed images consistently improve LCP scores.
- Crawl efficiency: Search engine bots crawl pages faster when assets are lightweight.
- Mobile-first indexing: Google indexes the mobile version of your site first. Compressed images are critical for mobile performance.
For a complete picture of SEO best practices, the On-Page SEO vs Off-Page SEO guide on the MegaFreeTools blog is an excellent resource. You can also explore top free SEO tools to complement your image optimization workflow.
MegaFreeTools offers a growing library of free utilities — from the QR Code Generator to the Word Counter — all designed to help creators, developers, and businesses work more efficiently without spending a cent. Explore all free tools here.

Frequently Asked Questions
How can I compress images online without losing quality? Use a lossless or smart lossy compression tool like the one at megafreetools.com/image-compressor. Upload your image, select your compression level, and download the optimized file. The tool removes unnecessary metadata and redundant data without touching visible image quality.
What is the best free image compressor tool? MegaFreeTools Image Compressor is one of the best free options available — it supports multiple formats (JPG, PNG, WebP), requires no installation, works on mobile and desktop, and processes files securely without storing them.
Can I reduce image size without losing clarity? Yes. Using lossless compression or a low-to-medium lossy setting, most images can be reduced by 50–80% with no perceptible quality difference. The key is to compress from a high-quality source and preview before finalizing.
How do I compress a JPG or PNG file online? Visit megafreetools.com/image-compressor, upload your JPG or PNG file, choose your settings, and click compress. The process takes under 10 seconds.
How does image compression improve website speed? Smaller image files load faster, which reduces Time to First Byte (TTFB) and Largest Contentful Paint (LCP). These are both Core Web Vitals that Google uses as ranking signals. Faster pages also reduce bounce rates and improve conversion rates.
Are there bulk image compression tools available online? Yes. MegaFreeTools supports bulk image compression, allowing you to optimize multiple images in a single session — ideal for web developers, e-commerce managers, and content creators with large media libraries.
What is the difference between lossy and lossless image compression? Lossy compression permanently removes some image data to achieve smaller files — best for photos and web use. Lossless compression reduces file size without losing any data — best for logos, graphics, and images requiring perfect quality.
Start Compressing Images for Free Right Now
If you’ve been uploading unoptimized images to your website, sending oversized photos by email, or struggling to meet form upload limits, the solution is one click away.
The Image Compressor at MegaFreeTools is completely free, requires no sign-up, and delivers professional-grade results in seconds. Whether you need to reduce an image to 20KB for a government form or compress a batch of product photos for your store, it handles every use case effortlessly.
While you’re there, check out the full suite of free tools — including the Image Resizer, JPG to PNG Converter, PDF to Word, Word to PDF, Split PDF, Merge PDF, and Text to PDF — all free, all instant, all at MegaFreeTools.